In this short article I will show you how, using Affinity Photo, you can integrate narrowband H-Alpha into your RGB images.
The purpose of this is to further enhance your images with the detail and contrast that Ha can capture. You can capture Ha with any astrophotography setup, however a monochrome, cooled camera is the best way to get the most out of your setup.
This article will only cover the adjustments I made after stacking and early non-linear adjustments.
Once processed in Pixinsight I am left with 2 stretched images, the RGB and Ha complimentary layer.
To get better blending stars in the final image I used a short expression in PixelMath to generate a Red composite image. Using 80% of the original red image and 20% of the Ha it had much better blended stars.
This same process can be done in Affinity photo by merging the Ha and R layers in a separate workspace and re-integrating them back into the Red channel of the RGB image
The first step in the combination is to bring in the RGB image alone. To this we will need to soften up the stars a little by applying a Dust and Scratches filter (Filter > Noise > Dust and Scratches).
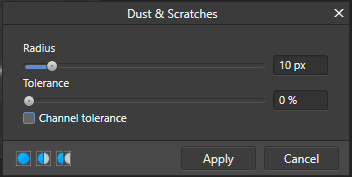
I found a radius of 10 worked well for my image, however you can experiment with the final image to see what works best for you
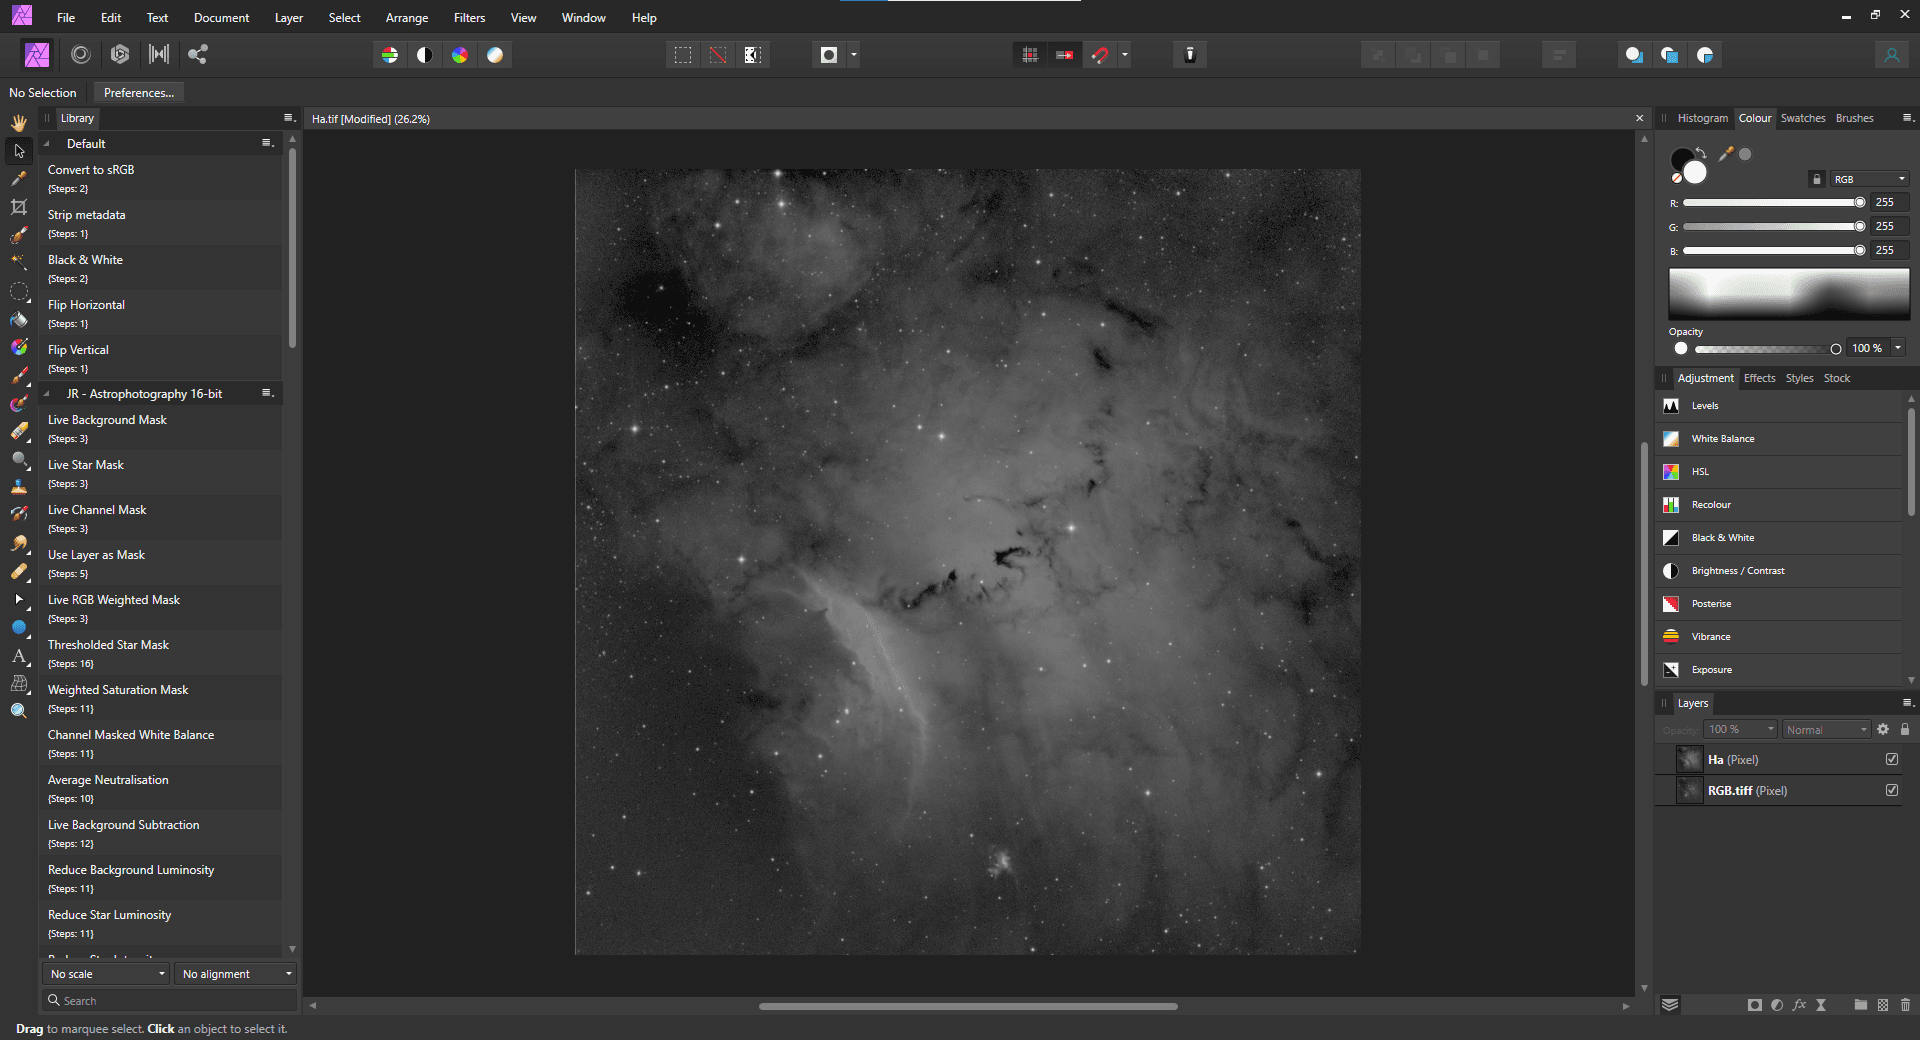
Now it’s time to introduce our Ha layer on top of the blurry RGB layer, since I already aligned and matched the histograms of the images in Pixinsight, we don’t need to do any adjustments with curves at this stage.
By changing the blending mode to luminosity and an opacity of 75% the Ha layer will help to emphasise the details of the nebulosity!
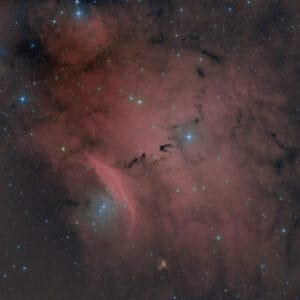
As you can probably tell, the HaRGB has lost some of the contrast in the image, however the finer details have been revealed in the nebulosity.
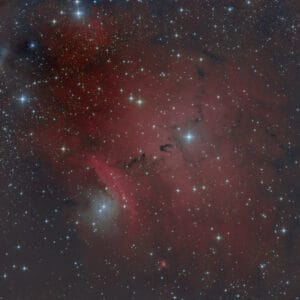
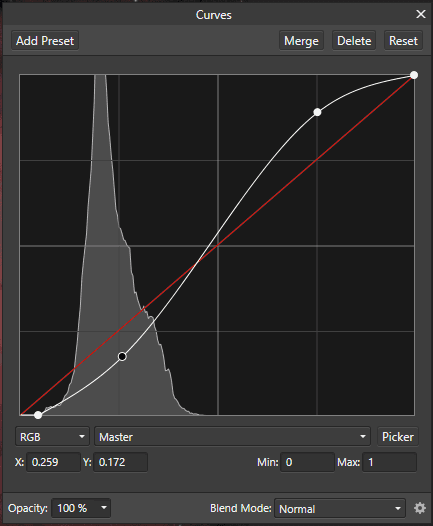
We can bring back the rich colour by applying a simple curves adjustment, you can apply a curves adjustment or adjust the curves of the Ha and RGB layers independently to your suiting.
And with some other minor touches we reach our final image!