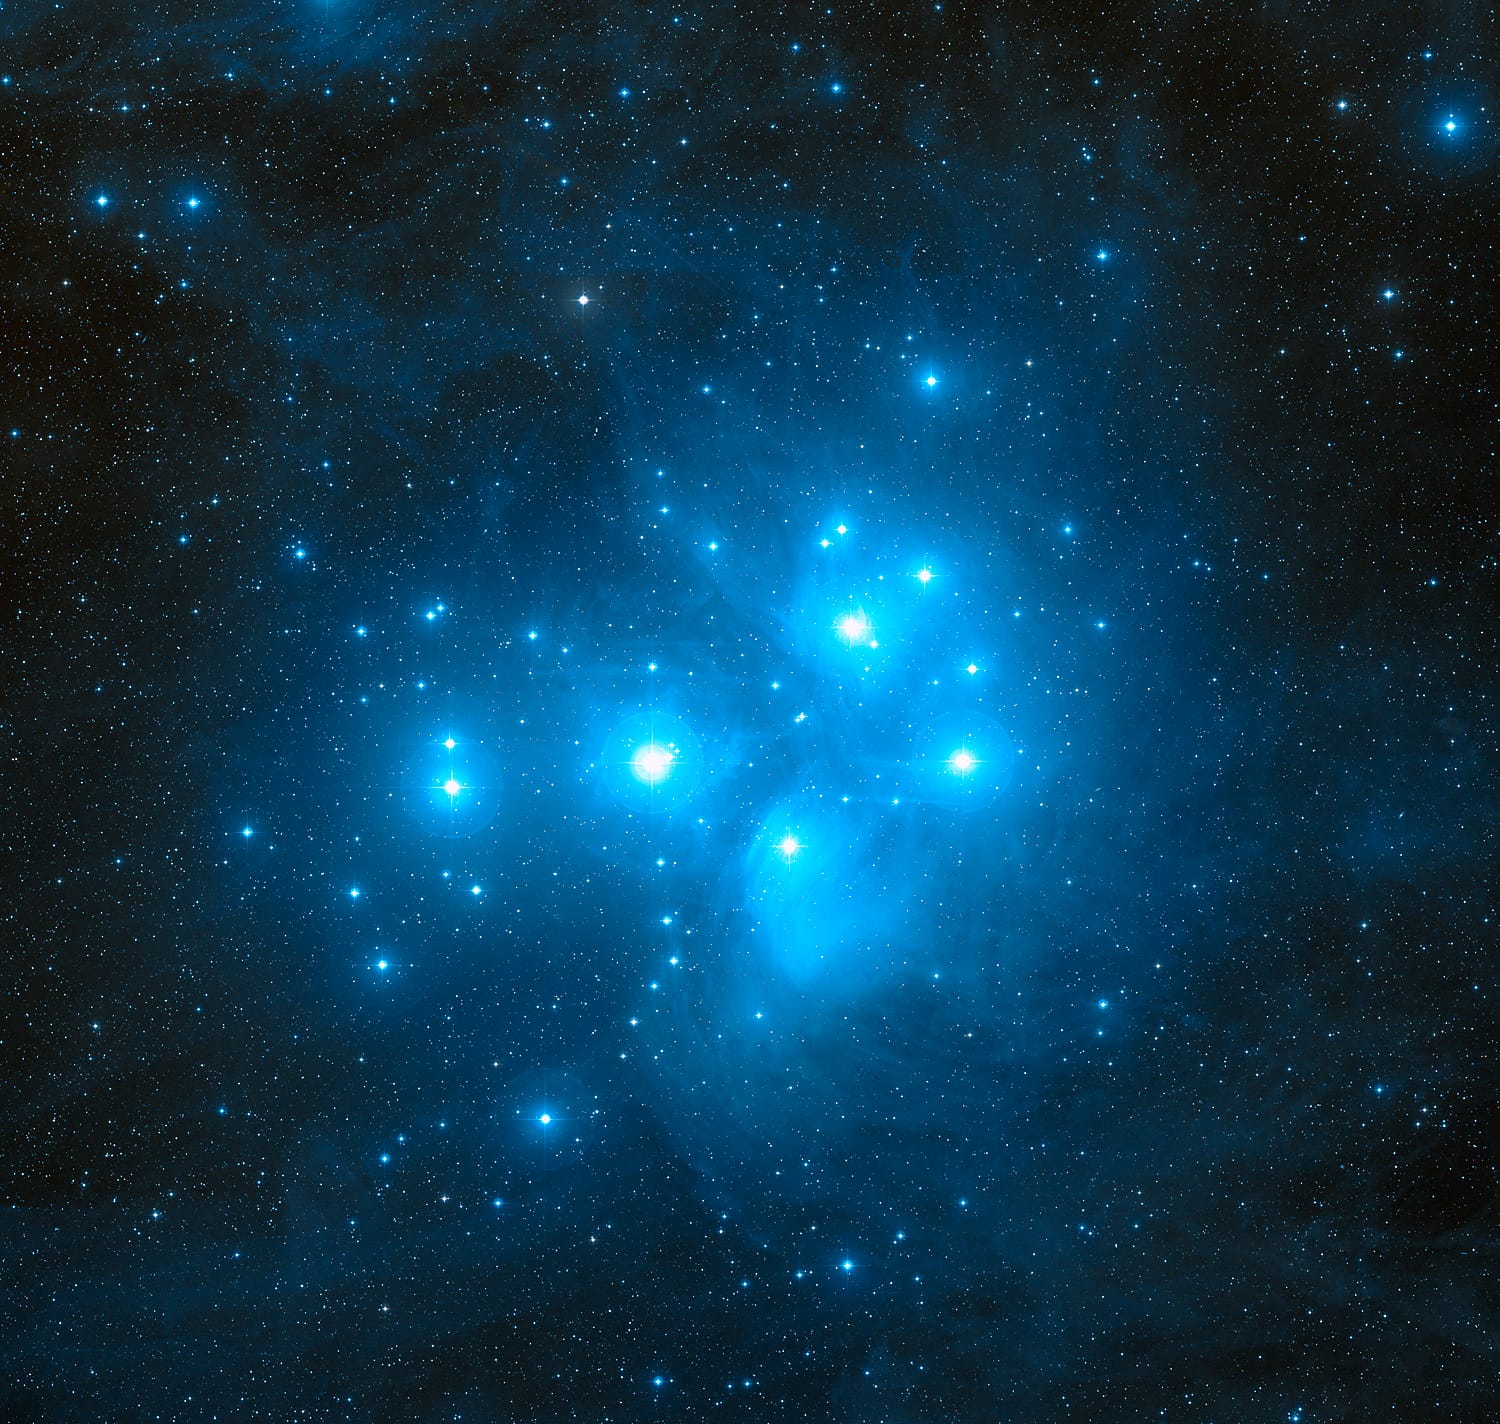
On the night of Tuesday 27 October, a bright waning Moon slides across the northern half of the Pleiades (M45) and hides several of its named stars from UK view. The event runs from about 23:45 GMT to 02:30 GMT, with the middle of the passage at around 01:10 GMT on Wednesday 28 October. This guide is for anyone with a camera and a telephoto lens or a small telescope, and it covers where to look, how to frame the pair and the settings that catch stars winking out at the Moon’s edge.
Before you start
- Kit: any camera with manual exposure on a sturdy tripod, plus a lens or telescope of 200 mm focal length or more. A star tracker helps but is not required.
- Software: a planetarium app to check the Moon’s position from your site, and your camera’s own video or interval timer mode.
- Knowledge assumed: setting ISO, aperture and shutter speed by hand. If that is new, read the astro.pics guide to ISO, aperture and exposure time first.
- Time needed: set up by 23:15 GMT and plan to stay out until at least 02:00 GMT.
How a lunar occultation works
An occultation happens when the Moon passes directly in front of a star. The Moon moves eastward against the background stars by about its own width every hour, so its leading edge covers each star in turn and its trailing edge reveals it again later.
Because a star is a point of light, it does not fade gradually. It vanishes in a fraction of a second, which is what makes occultations so satisfying to record on video. The Moon has no atmosphere to soften the effect.
This time the Moon is a waning gibbous, about 95% lit, just two days after full. For a waning Moon the leading (eastern) edge is the bright, sunlit limb, and the trailing (western) edge carries the thin unlit sliver. That means stars disappear against glare at the bright limb and reappear at the darker limb, where they are much easier to see and photograph.
When and where to look from the UK
The clocks go back on Sunday 25 October, so all times below are GMT, which is the same as UT. BBC Sky at Night Magazine gives the viewing window as 23:45 UT on 27 October until around 02:30 UT on 28 October. The midpoint of that window, about 01:10 GMT, is a sensible time to aim for if you can only manage a short session.
| Time (GMT) | What is happening | Moon from mid UK (52.5°N) |
|---|---|---|
| 23:45, 27 Oct | Window opens; the Moon reaches the western edge of the cluster | South-east, about 56° up |
| About 01:10, 28 Oct | Middle of the passage; the Moon is deep in the northern half of the cluster | Due south, about 62° up |
| About 02:30, 28 Oct | Window closes as the Moon moves off the cluster’s eastern side | South-south-west, about 60° up |
Exact disappearance and reappearance times for each star shift by a few minutes depending on where you are, so treat the table as a guide to the overall event rather than a stopwatch. Start recording a few minutes before you expect any change. From Scotland the Moon stands a few degrees lower; from southern England it is a few degrees higher. The pairing is high in the sky from everywhere in the UK, so a garden view to the south is enough.
The stars covered are on the northern side of the Pleiades. Maia, Taygeta and Celaeno are among those hidden from UK sites, while bright Alcyone, at the heart of the cluster, stays just clear of the Moon’s southern edge. If you want precise predictions for your own location, the International Occultation Timing Association points observers to its free Occult software.
Imaging the Moon and cluster together
The Pleiades spans about 2°, four times the width of the Moon. To fit both in one frame with some breathing room, use a focal length of 300 to 400 mm on a full-frame camera, or 200 to 250 mm on an APS-C body. At 400 mm on full frame the field is roughly 5° × 3.4°, which frames the cluster and Moon neatly with space for the Moon to move. The focal-length guide to framing deep-sky targets explains how to work out the field for your own kit.
The hard part is dynamic range. A 95%-lit Moon is thousands of times brighter than the cluster’s stars, and the blue nebulosity seen in long exposures will be lost completely in the glare. Accept that, and aim for the brightest stars (around magnitude 3 to 4) with a detailed lunar disc.
- Set manual focus on a bright star using live view at maximum magnification, then tape the focus ring.
- Start at ISO 400, f/5.6 and 1/60 second. Check that the Moon’s bright limb is not clipped on the histogram.
- Bracket the shutter speed from 1/250 second to 1/4 second. The short frames hold the lunar detail; the longer frames show more stars.
- Blend a short and a long exposure later, using the short frame for the Moon and the long frame for the stars.
At these shutter speeds a fixed tripod is fine. Even at 400 mm, Earth’s rotation moves a star by under 4 arcseconds in a quarter of a second, well under a pixel on most cameras. The common mistake is overexposing the Moon to show more stars. A blown-out lunar disc ruins the shot, whereas faint stars can be lifted in processing.
Catching stars vanish through a telescope
To see individual stars disappear and reappear, you need more focal length: 600 to 1,500 mm puts the Moon’s edge and one or two stars in the frame. Point at the Moon’s western (darker) limb for reappearances, which are the easier targets on this night.
- Video is best: record at 25 to 60 frames per second so you catch the exact moment. A star blinks out between two frames.
- Exposure: set the exposure for the star, not the Moon. Let the lunar limb overexpose slightly if that is what it takes to see a magnitude 4 star.
- Gain: raise ISO or gain until the star is clearly visible in the live preview, then back off one step to limit noise.
- Tracking: at long focal lengths a tracking mount keeps the limb in frame. Without one, reframe every couple of minutes and start a new clip before each predicted reappearance.
Set your camera clock to GMT against an accurate time source before you start. If you note the frame where a star vanishes, you have a timed observation that occultation groups can use.
Shooting a time-lapse of the passage
A time-lapse shows the Moon drifting through the cluster over almost three hours. Use the wide framing above and an interval timer set to one frame every 10 to 15 seconds. Keep exposure settings fixed from start to finish so the sequence does not flicker. Between 23:45 and 02:30 GMT the Moon swings from south-east to south-south-west, so on a fixed tripod leave extra room on the right side of the frame (west) for the field to drift.
Late October nights in the UK are cold and damp. Fit a dew heater strap or lens hood before you start, and carry a spare battery in an inside pocket. The article on keeping dew off your optics explains why misting tends to strike after midnight.
Quick reference
| Setting | Wide (Moon and cluster) | Close-up (stars at the limb) |
|---|---|---|
| Focal length | 300 to 400 mm full frame; 200 to 250 mm APS-C | 600 to 1,500 mm |
| Mode | Stills, bracketed | Video, 25 to 60 fps |
| Starting exposure | ISO 400, f/5.6, 1/250 s to 1/4 s | Expose for the star; let the limb clip slightly |
| Tracking | Not needed | Helpful |
| Best time | Around 01:10 GMT | Watch the western limb from 23:45 GMT onward |
Next steps
Check the forecast on the afternoon of 27 October and do a test frame of the Moon on the evening of 26 October to fix your exposure in advance. If cloud wins, the Moon returns to the Pleiades on 24 November and 21 December, although how much of each passage is visible from the UK varies. For more on working with a bright Moon, read the guide to lunar phases and full Moon imaging, and use the night-planning tools and tips to get set up before the event.